Roblox Prison Escape: A Comprehensive Guide to All Endings
Welcome to a detailed walkthrough of Roblox Prison Escape, where strategy and quick thinking are key to freedom! This guide will take you through three distinct escape routes – the Rooftop Ending, the Janitor Ending, and the Normal Ending – showcasing how to acquire necessary items and navigate your way to liberty.

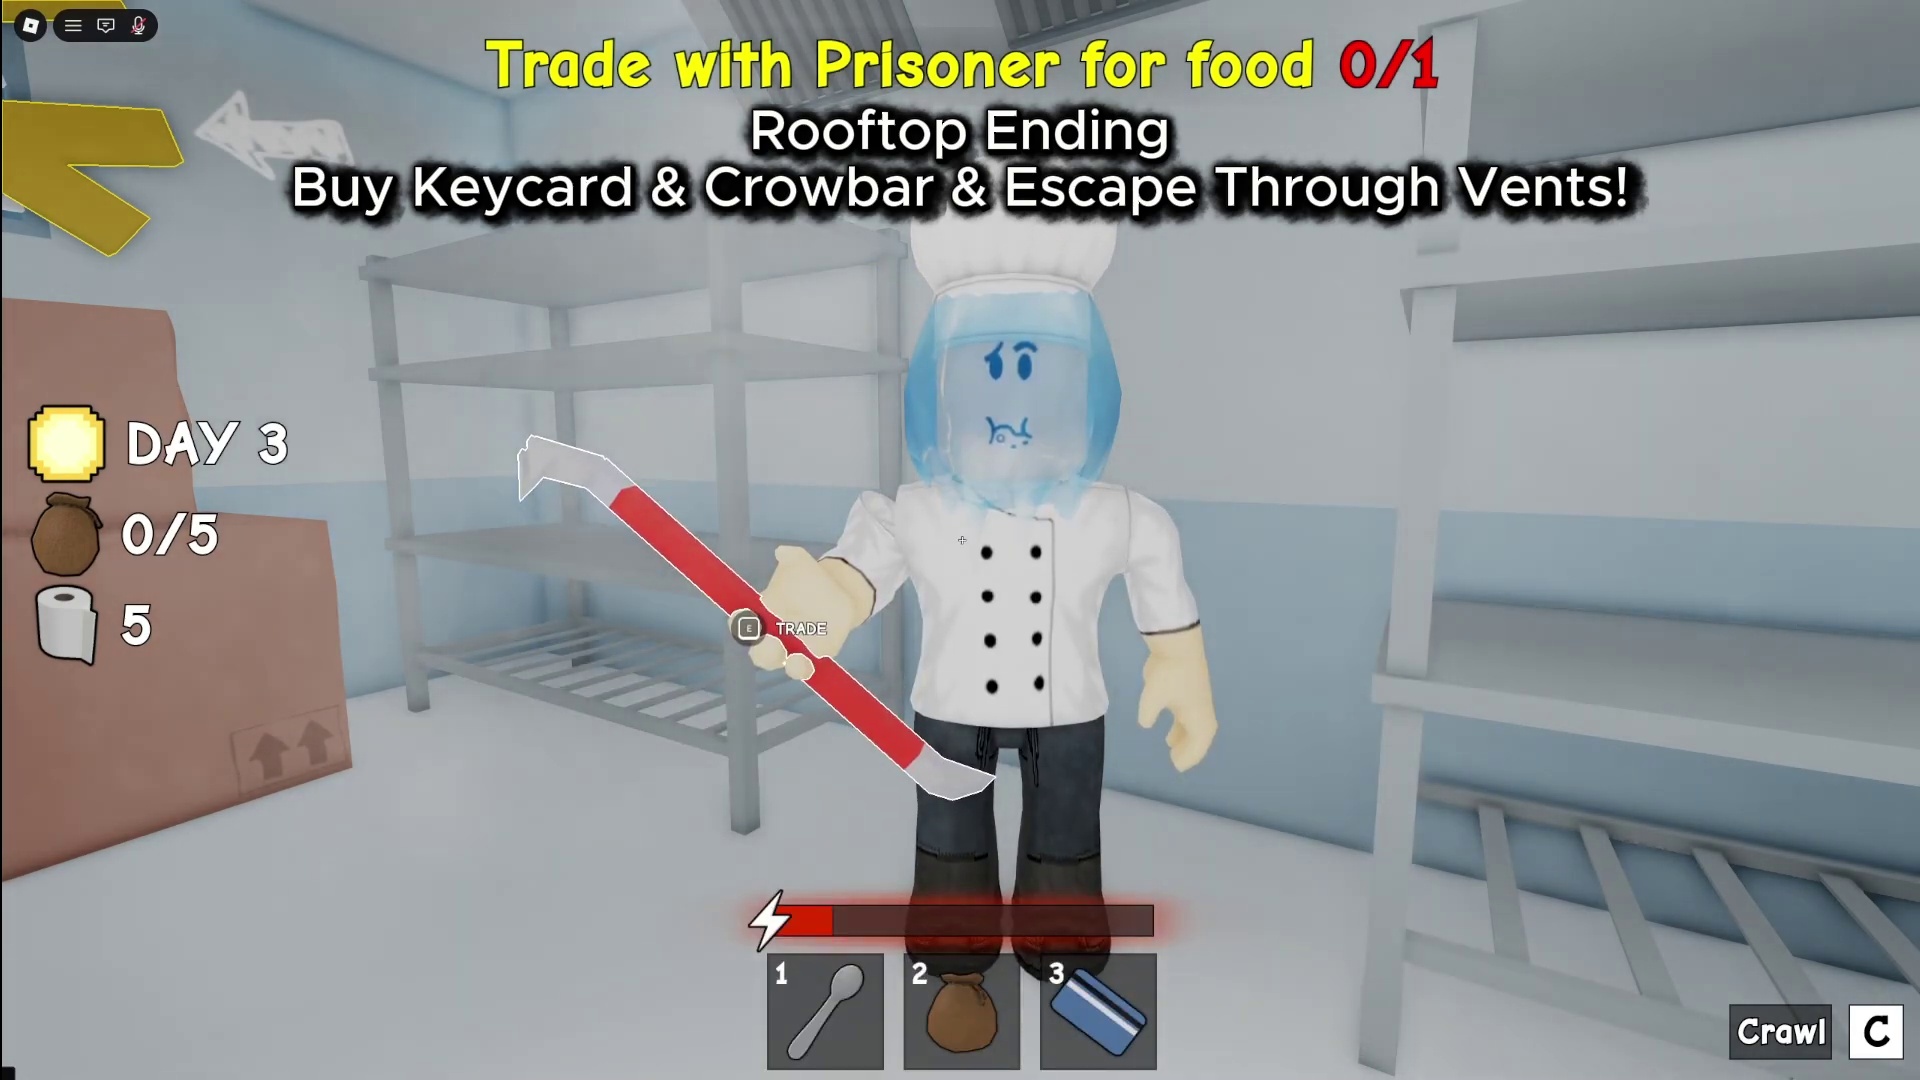
Our first adventure toward freedom begins with the daring Rooftop Ending. The initial step involves a strategic trade with a fellow prisoner named Pedro. By offering 205 toilet paper, you successfully acquire an Illegal Keycard, an essential item for the escape. Immediately after, you navigate to the cafeteria and kitchen areas, where you can pick up valuable food items like an apple and a chicken leg. These provisions are not just for sustenance; they are crucial for your next trade. In the freezer room, you encounter the Frozen Chef, who is willing to part with a Crowbar in exchange for 5 toilet paper. This crowbar is another vital tool in your arsenal.
With the newly acquired crowbar, the path to the rooftop becomes clear. You use the crowbar to skillfully break open a vent cover, revealing a dark and narrow ventilation shaft. Navigating through these cramped vents requires careful movement and attention. After a tense crawl, the vents lead you directly to the prison's exterior. You emerge onto the prison rooftop, setting the stage for the final phase of this escape.
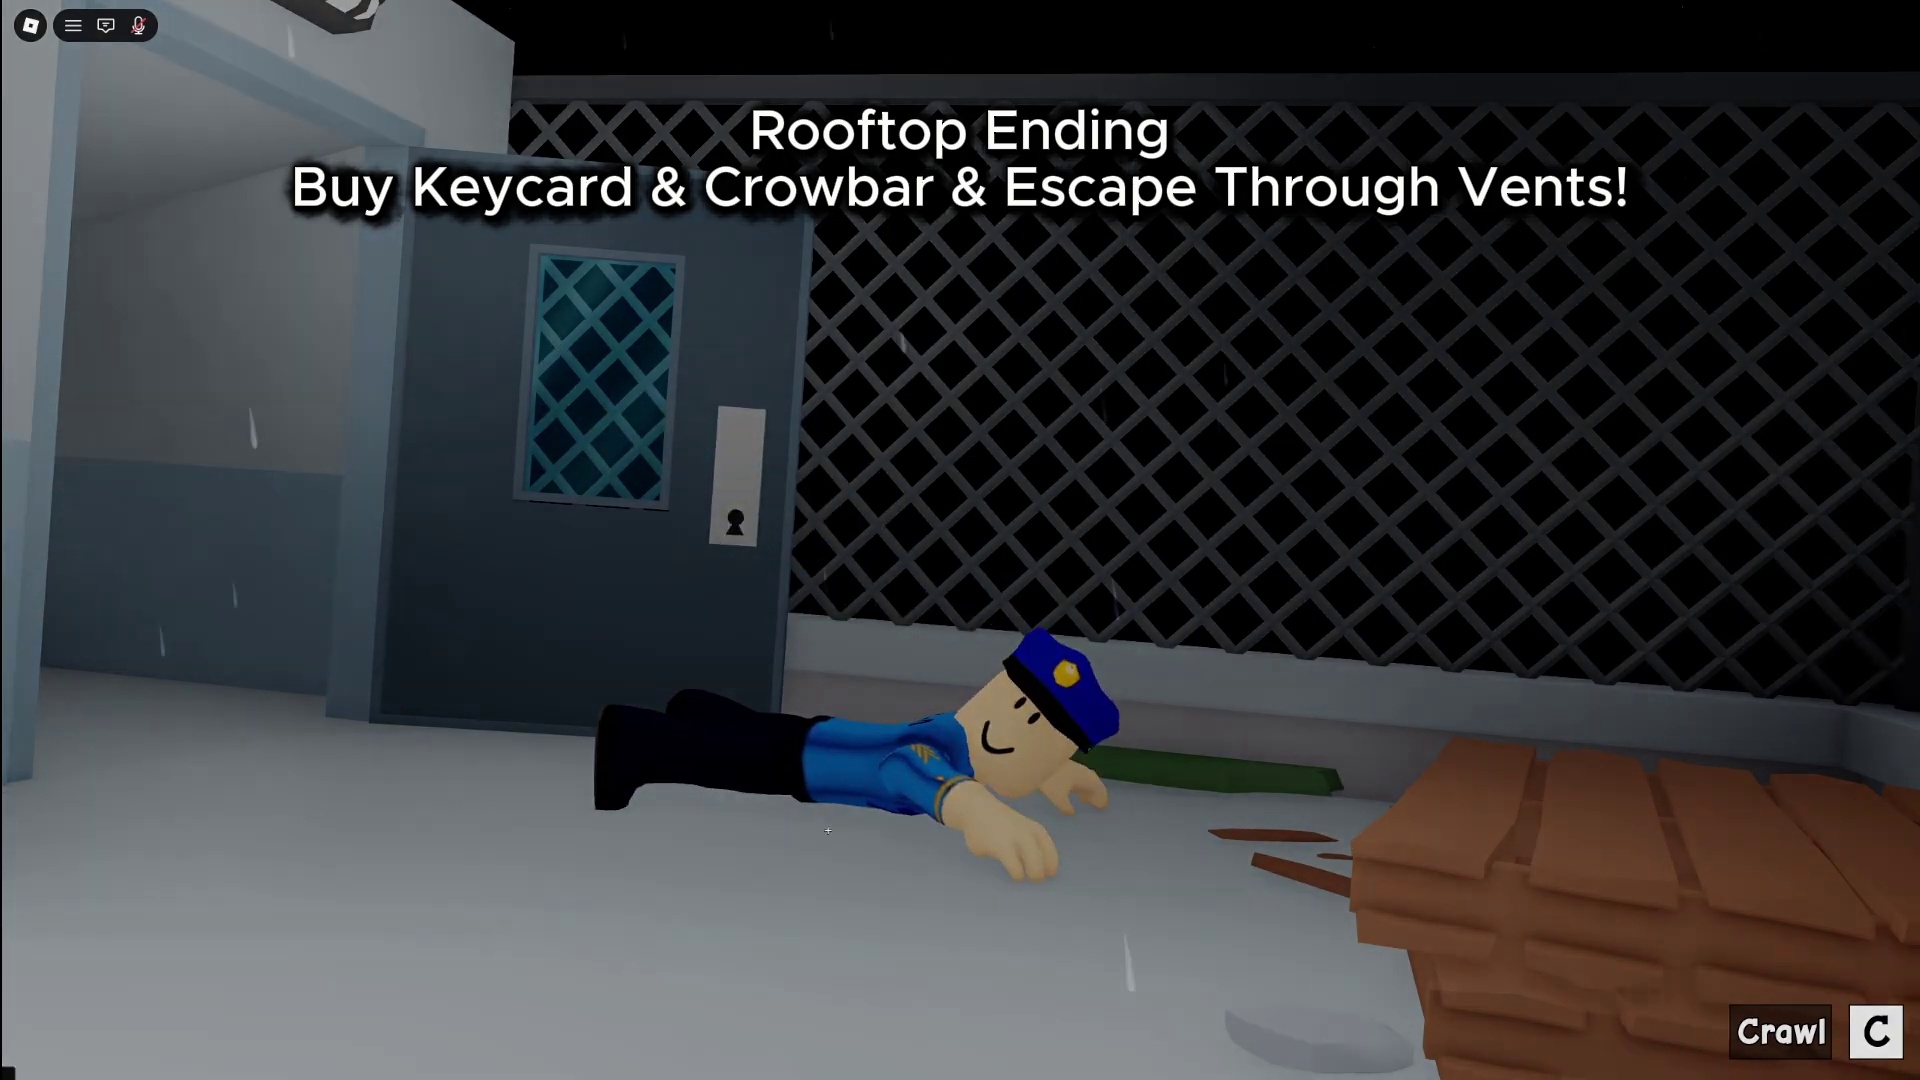
Upon reaching the rooftop, the environment is open and exposed. You must explore the various structures and hidden corners of the roof. Keep your eyes peeled for any signs of an exit. Eventually, you locate a waiting helicopter on a designated helipad. Approaching this aircraft triggers the triumphant ROOFTOPS ENDING, signifying a successful and dramatic escape from the prison. Congratulations, you've made it out via air!
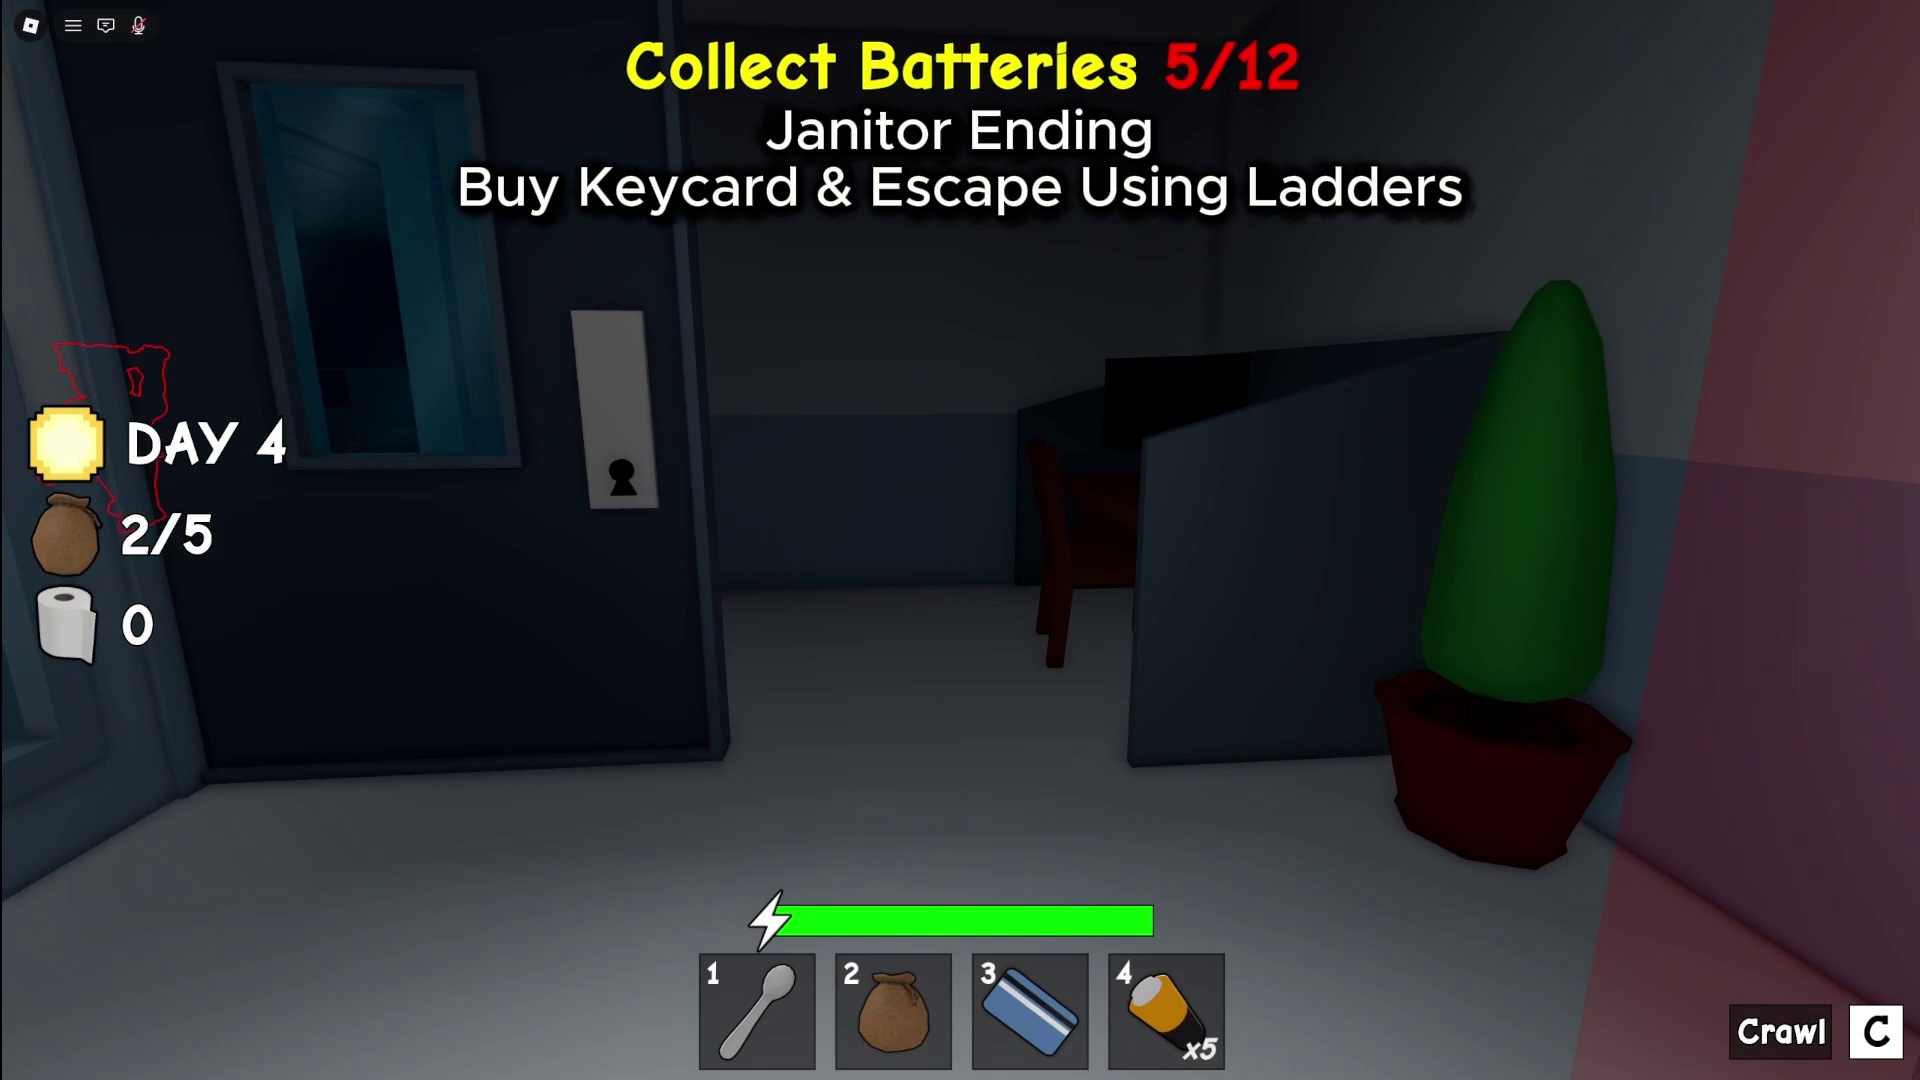
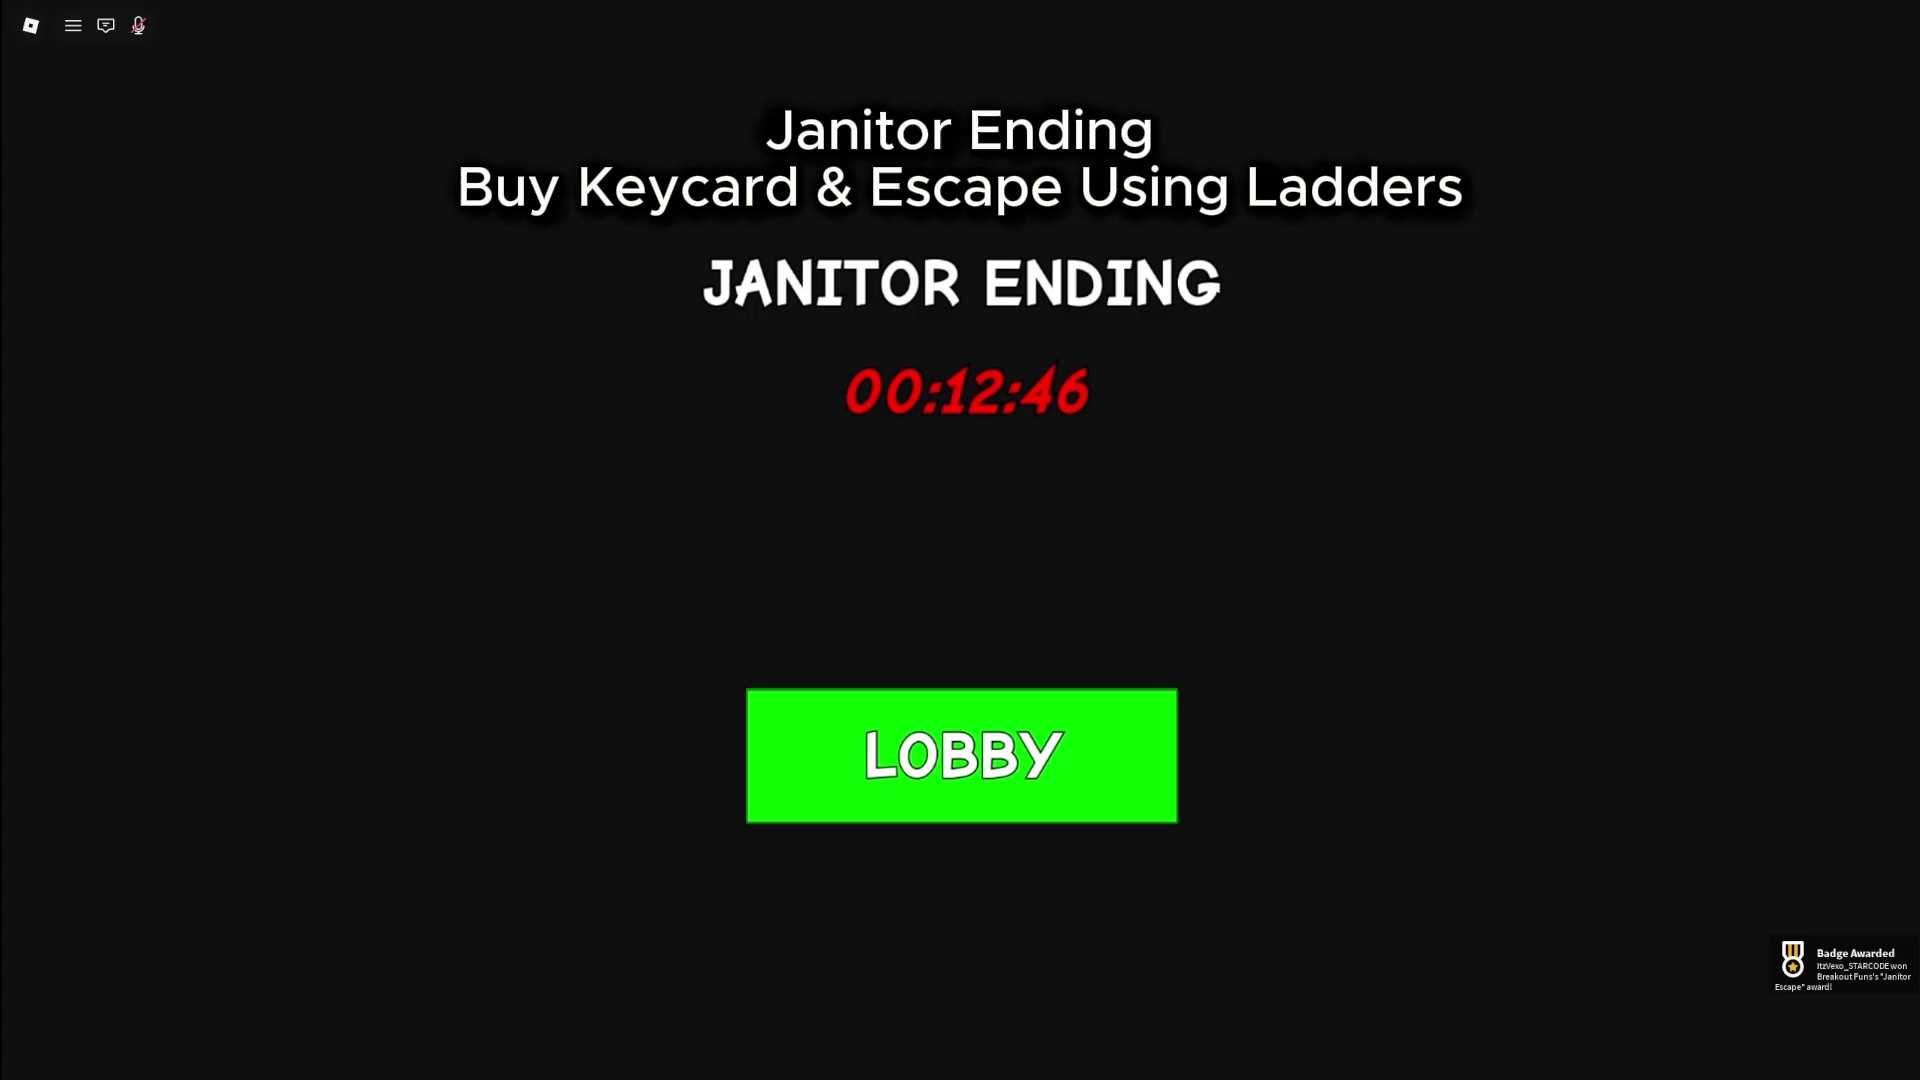
For our second escape, we delve into the Janitor Ending. This route requires a different set of preparations. You start by trading for a keycard from Andrea, which remarkably costs 0 toilet paper this time around. This keycard is your golden ticket to restricted areas. With the keycard in hand, you proceed to the security room. Scanning the keycard grants you access, and once inside, you quickly spot a hidden vent, another secret passage to explore.
After crawling through the vent from the security room, you find yourself in an office area. The lights are off, making navigation challenging. Your objective here is to locate and collect 12 batteries scattered across the room. These batteries are crucial for powering the escape mechanism. Search diligently under desks, behind partitions, and on tables to gather all the required power sources. Once you have all 12 batteries, you head towards a power panel, ready to activate the next step of your escape.
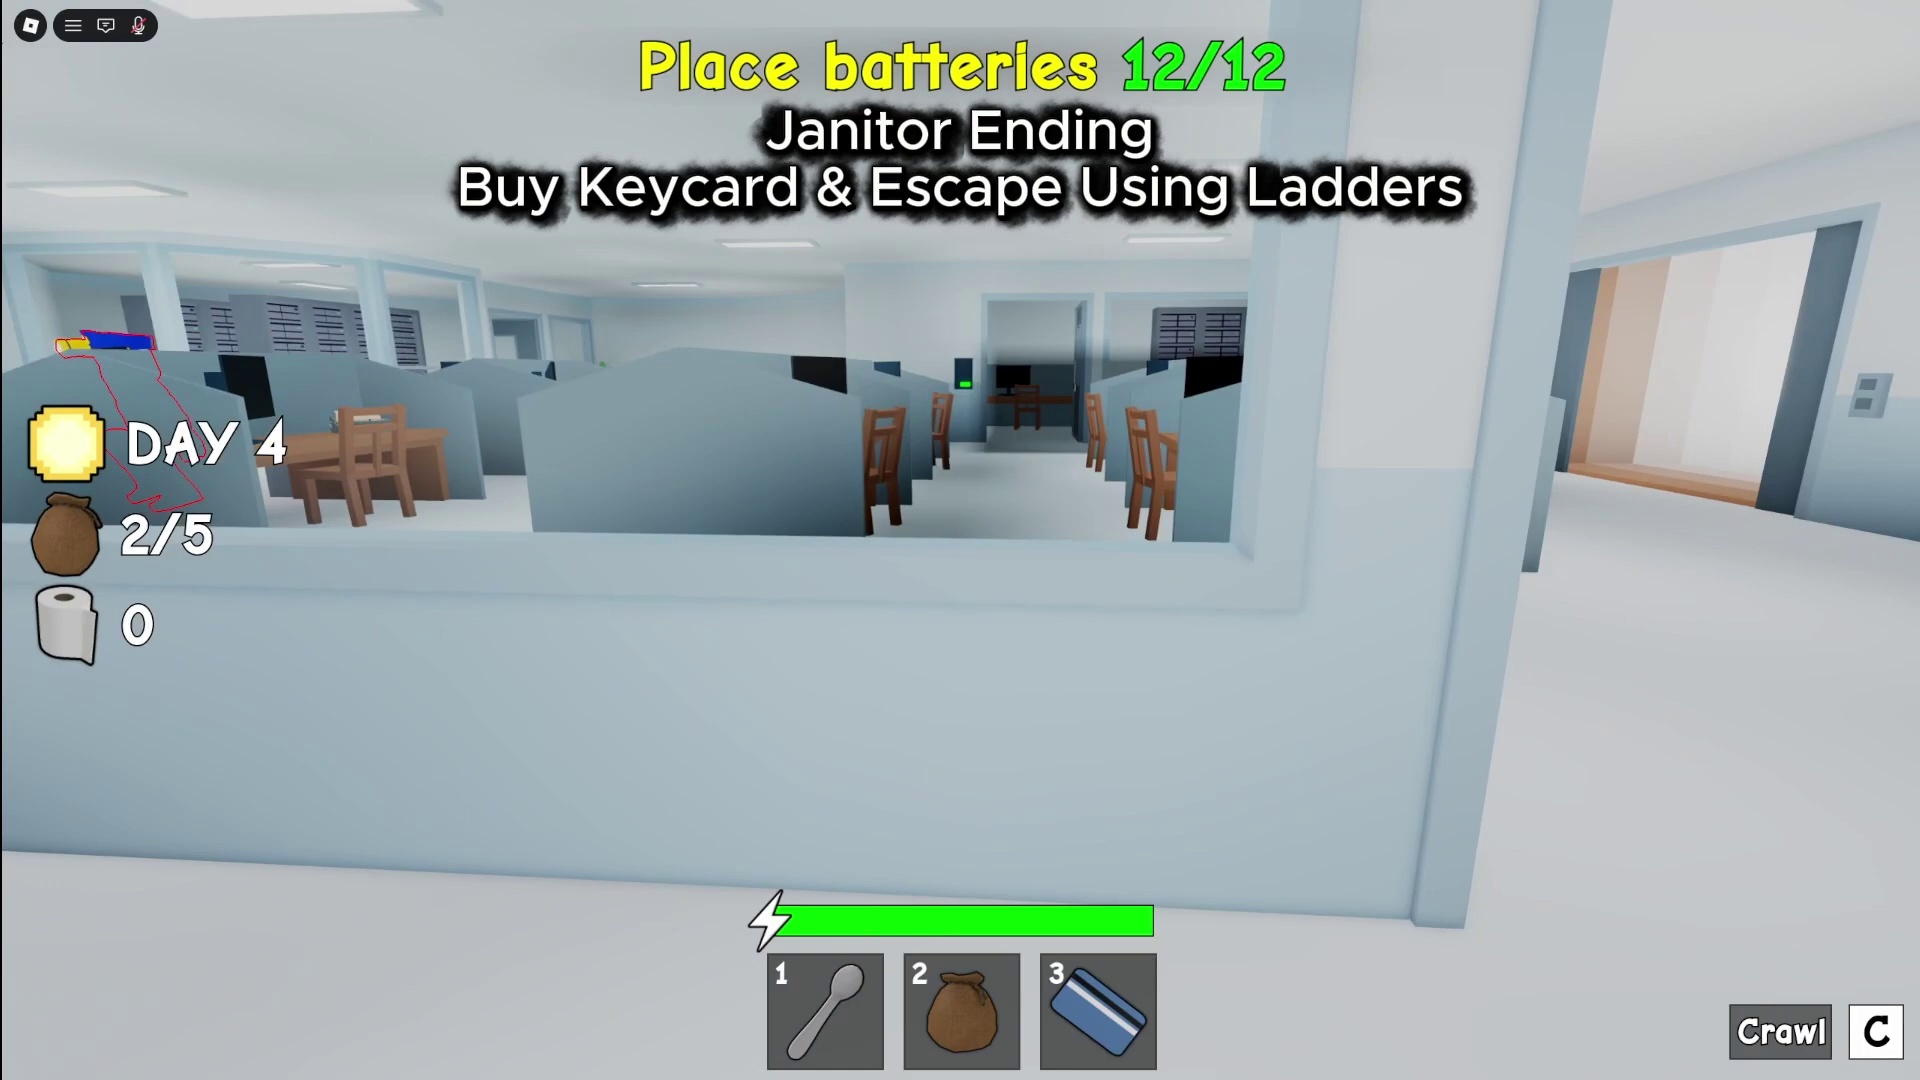
With the power restored by placing all 12 batteries into the panel, the escape route is fully activated. A series of yellow arrows appear on the floor, guiding you through the office. Following these arrows, you are led to a hidden ladder. Ascending this ladder completes your covert operation, leading to the JANITOR ENDING. You've successfully used your wits and a janitor's access to slip away undetected.
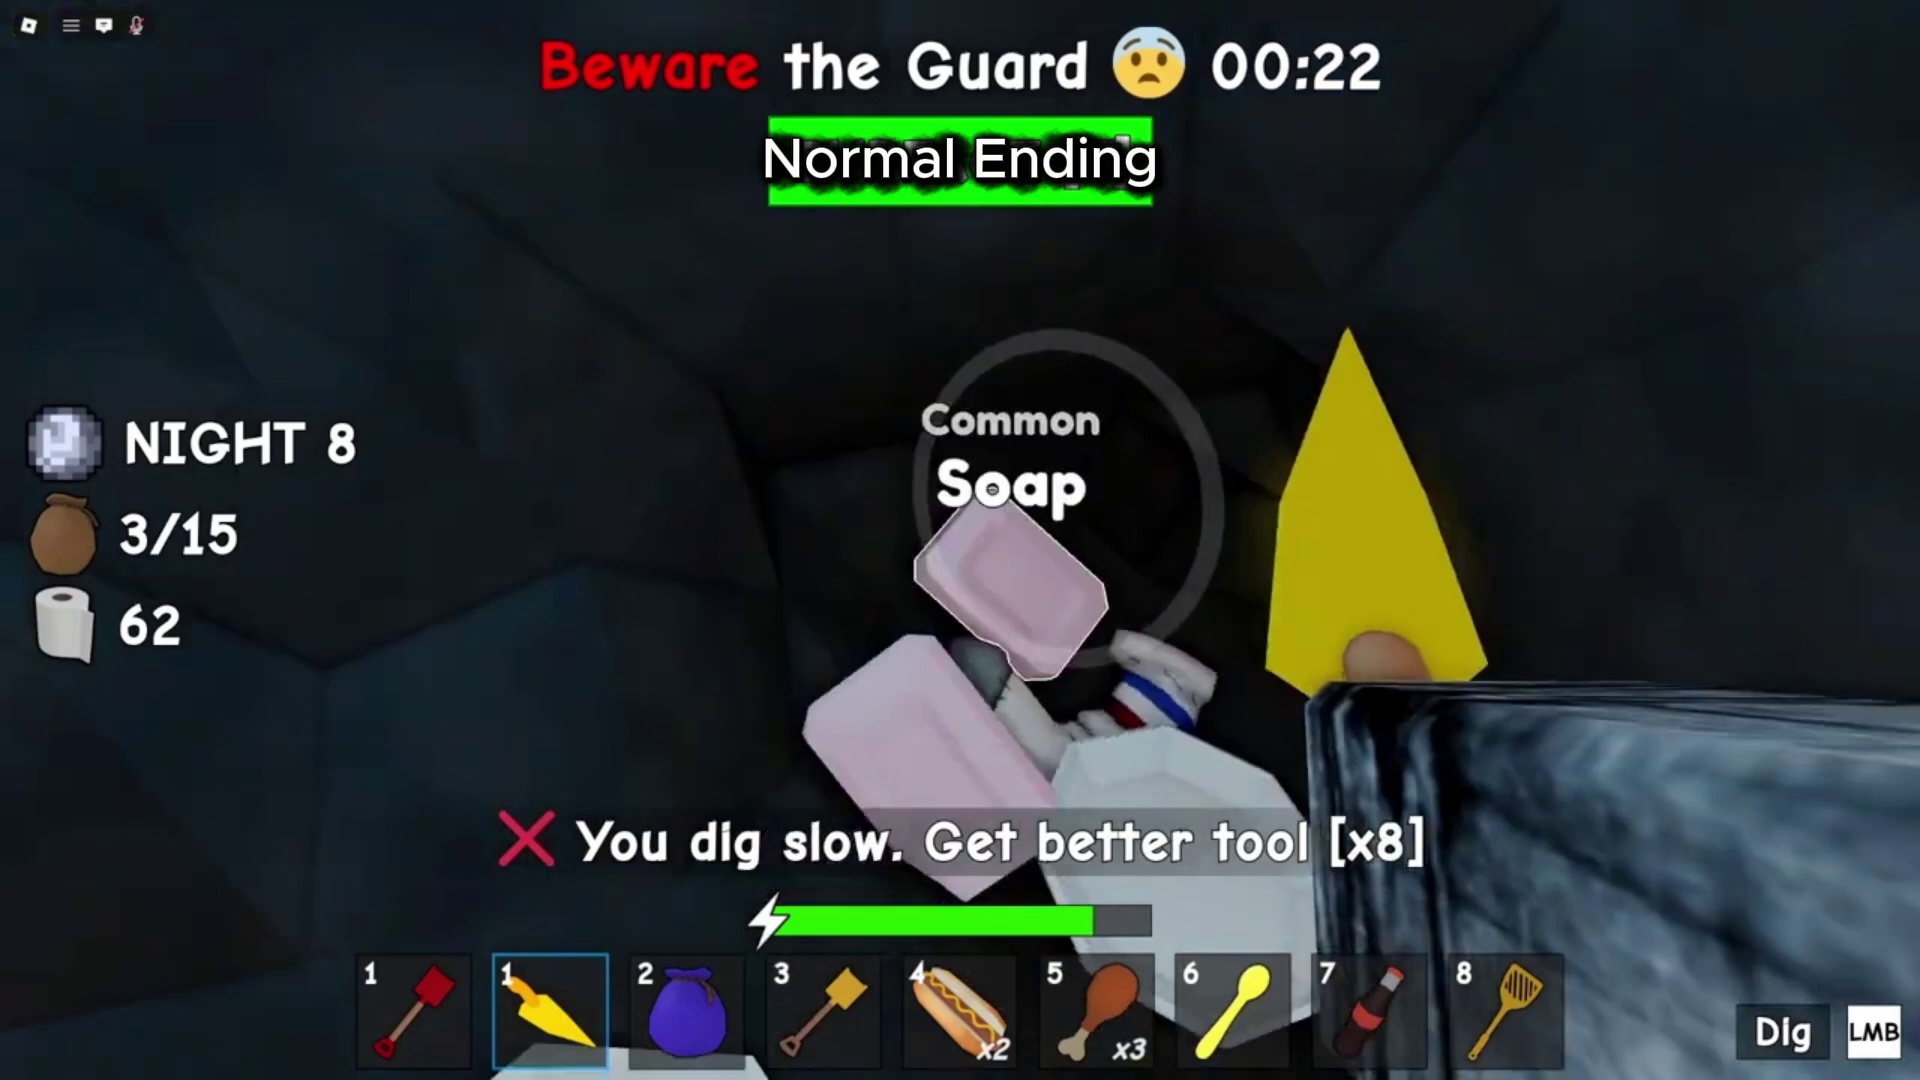
Finally, we explore the Normal Ending, a classic prison break scenario. This escape begins by uncovering a hidden hole beneath a carpet. Once exposed, you grab a shovel and start digging through the soft dirt. As you dig, you'll uncover various common items such as socks and soap, providing a steady stream of progress. The digging process is slow, but persistent effort will eventually lead you through the underground passage.
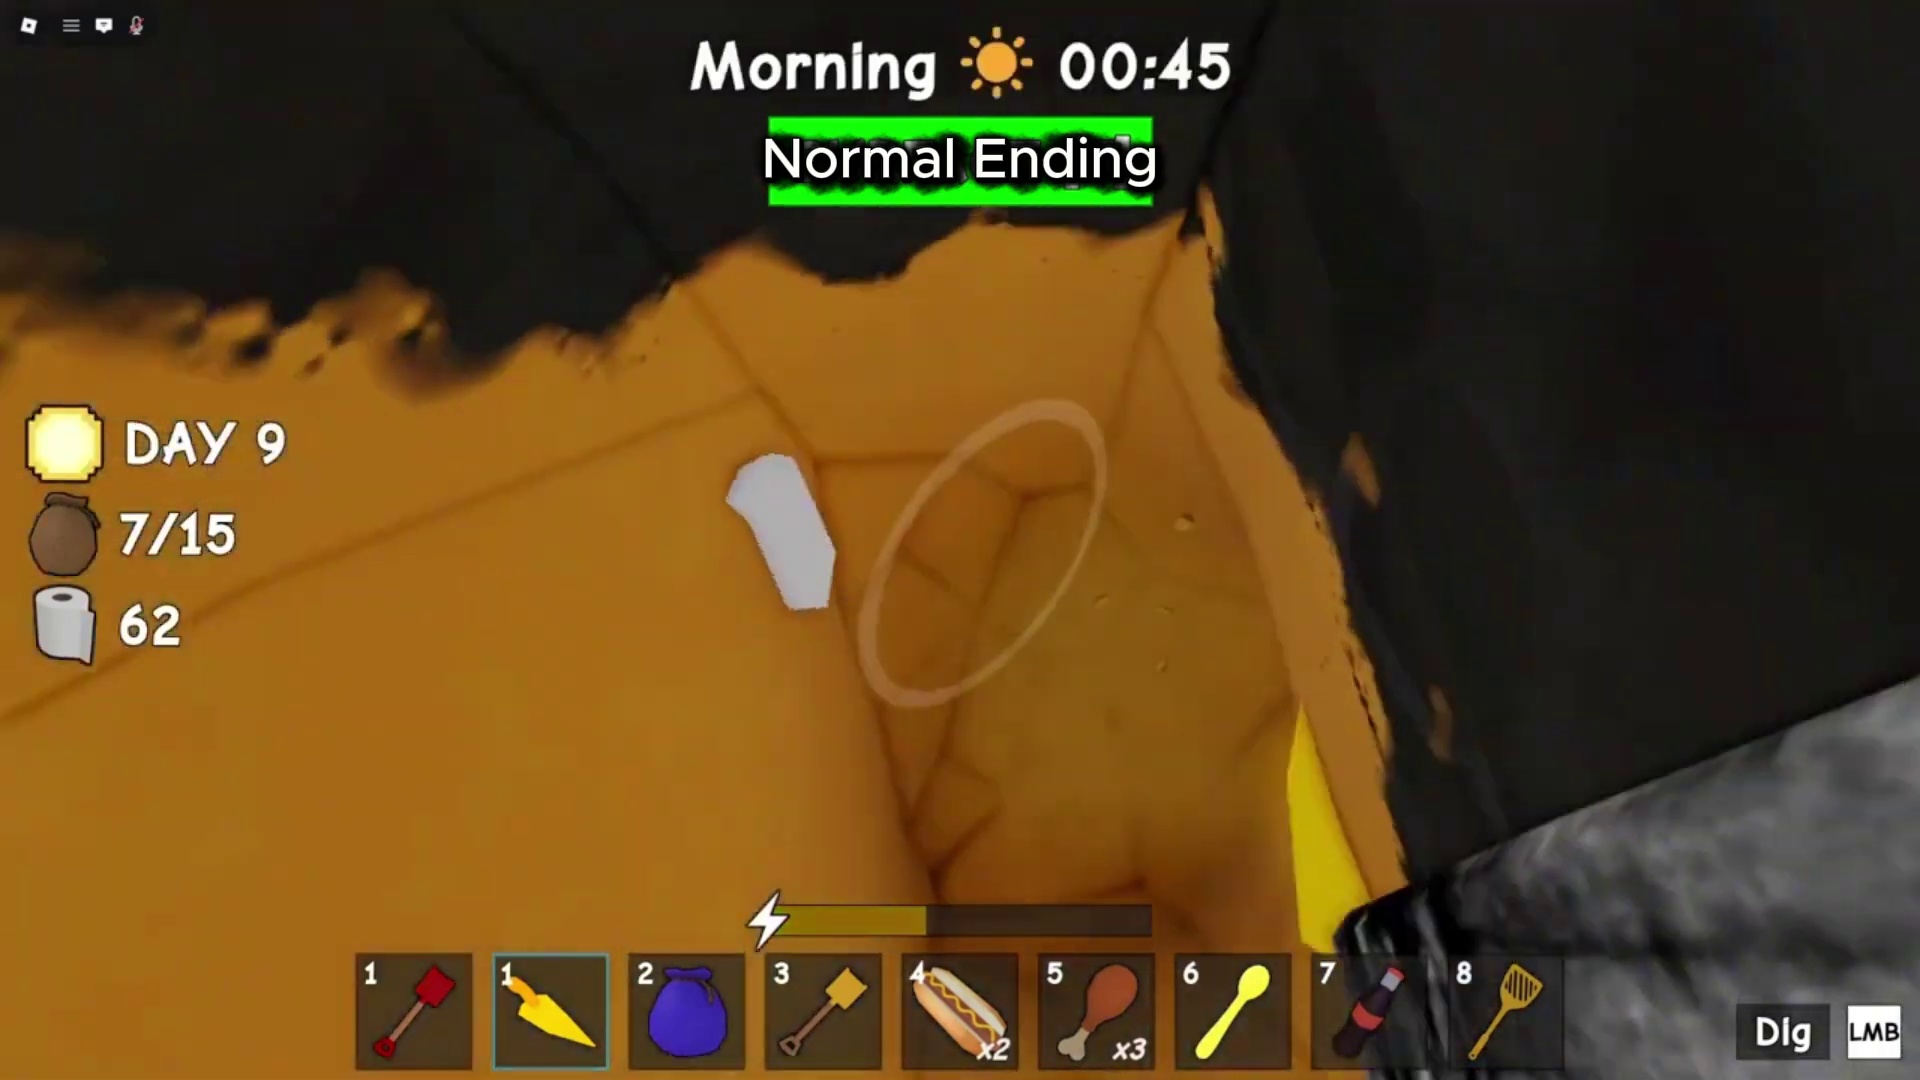
Having successfully dug through the initial tunnel, you now navigate a minecart track that extends deep into the underground. You traverse the tracks, watching out for any potential obstacles or turns. The path through the mine is dark and mysterious, but the end is in sight. Eventually, the minecart track leads you to a final ladder. Climbing this ladder brings you to the surface, achieving the NORMAL ENDING. You've escaped through sheer determination and old-fashioned hard work!
Each ending in Roblox Prison Escape offers a unique and thrilling challenge, testing different skills from trading and stealth to exploration and perseverance. From the aerial freedom of the rooftop, the quiet efficiency of the janitor's route, to the gritty determination of the normal escape, there's a path for every aspiring escape artist. Now that you know how to achieve them all, it's time to plot your next daring breakout!